How to Install Hollow WPC Decking: Complete 8-Step Guide with Accessories Checklist
Installing hollow WPC decking requires precision and the right techniques. This comprehensive guide walks you through 8 essential steps — from keel installation to final side seal plates — ensuring a durable, professional-grade deck that lasts for decades. Whether you're a DIY enthusiast or a professional contractor, follow each step carefully and refer to the accessories checklist and quick-reference table below.
📋 Quick-Reference Installation Parameters
| Step | Key Parameter | Critical Note |
|---|---|---|
| 1. Keel Installation | Spacing ≤35cm | Use spirit level; ensure firm fixing to substructure |
| 2. Wall Gap | 3cm expansion gap | Never omit — prevents buckling from thermal movement |
| 3. Fasteners | Stainless steel clips/screws | Corrosion-resistant; countersink for flush finish |
| 4. End Sealing | End caps or sealant | Prevents moisture ingress into hollow cavities |
| 5. Bayonet Connection | Metal bayonets + rubber mallet | Ensures tight interlock between adjacent boards |
| 6. Seam Gaps | ≥5mm minimum | Allows drainage, debris clearance & thermal expansion |
| 7. Perimeter Fixing | Face/side screws + pre-drill | Prevents splitting; anchors entire deck |
| 8. Side Seal Plates | Matching color plates | Covers exposed edges; professional finish |

Install the keels. The spacing between two keels must not exceed 35 cm. Proper joist spacing is the foundation of a stable deck — it prevents board flexing, eliminates sagging under load, and extends the overall lifespan of your WPC decking.
- Use WPC joists or pressure-treated timber for the keel system
- Ensure keels are perfectly level using a spirit level
- Fix keels securely to the substructure with appropriate anchors
- For heavy-load areas, reduce spacing to 30 cm for extra rigidity

Leave a gap of 3cm between the floorboards and any adjacent building structure. This expansion gap is absolutely critical — WPC decking naturally expands and contracts with temperature fluctuations and humidity changes. Skipping this step will almost certainly result in buckling, warping, or structural damage over time.
- Use 3cm spacers during installation to maintain consistent gaps
- Cover the gap with fascia boards for a clean, finished appearance
- Applies to walls, posts, curbs, and any fixed structures

The floorboard is secured to the keel using metal fasteners. Always choose stainless steel clips or screws for maximum corrosion resistance — especially important in coastal, high-humidity, or poolside environments where regular steel would rust quickly.
- Use stainless steel (SS304 or SS316) fasteners for longevity
- Fasteners should penetrate the keel securely without splitting
- Countersink screws slightly below the board surface for a flush feel
- Plastic clips are suitable for standard low-moisture applications

Hollow floorboard sealing is mandatory. The open internal cavities of hollow WPC boards are vulnerable to moisture ingress. Apply end caps or waterproof sealant to all cut ends to prevent water from entering, which can cause internal swelling, freeze-thaw damage, and long-term material degradation.
- Use color-matched end caps or high-quality exterior-grade sealant
- Sealing maintains dimensional stability in all weather conditions
- Improves the overall finished appearance by hiding the hollow core
- Especially critical in regions with freeze-thaw cycles

Two floorboards are connected to each other using metal bayonets and then fixed to the keel below. This interlocking system creates a secure, seamless joint that resists movement and maintains alignment across the entire deck surface.
- Bayonets provide a mechanical interlock between adjacent boards
- Align the tongue-and-groove system carefully before inserting
- Use a rubber mallet to gently tap boards into position without surface damage
- Check alignment with a spirit level after each connection

The seams between floorboards must be at least 5mm wide. This gap serves three essential functions: it allows rainwater to drain through the deck surface, provides space for thermal expansion in hot weather, and prevents boards from rubbing against each other which causes squeaking and surface wear.
- Use 5mm spacers throughout installation for uniform gaps
- Essential for water drainage — prevents pooling on the deck surface
- Allows debris clearance between boards

The first and last floorboards require additional screw fixing on the surface or sides. These perimeter boards anchor the entire deck in position and experience the most stress from foot traffic and thermal movement. Face-screw or side-screw them for maximum hold.
- Pre-drill holes to prevent splitting the WPC material
- Use countersunk stainless steel screws for a flush, clean finish
- Perimeter boards hold the entire deck assembly in alignment
- Apply screw caps for a seamless color-matched look

Install side seal plates at all exposed board ends. This finishing piece covers cut edges, protects against moisture ingress at vulnerable end-grain areas, and delivers a professional, polished appearance that elevates the entire deck's look.
- Covers exposed board ends for a clean, finished edge
- Available in matching colors for a seamless visual integration
- Protects cut edges from UV exposure and moisture damage
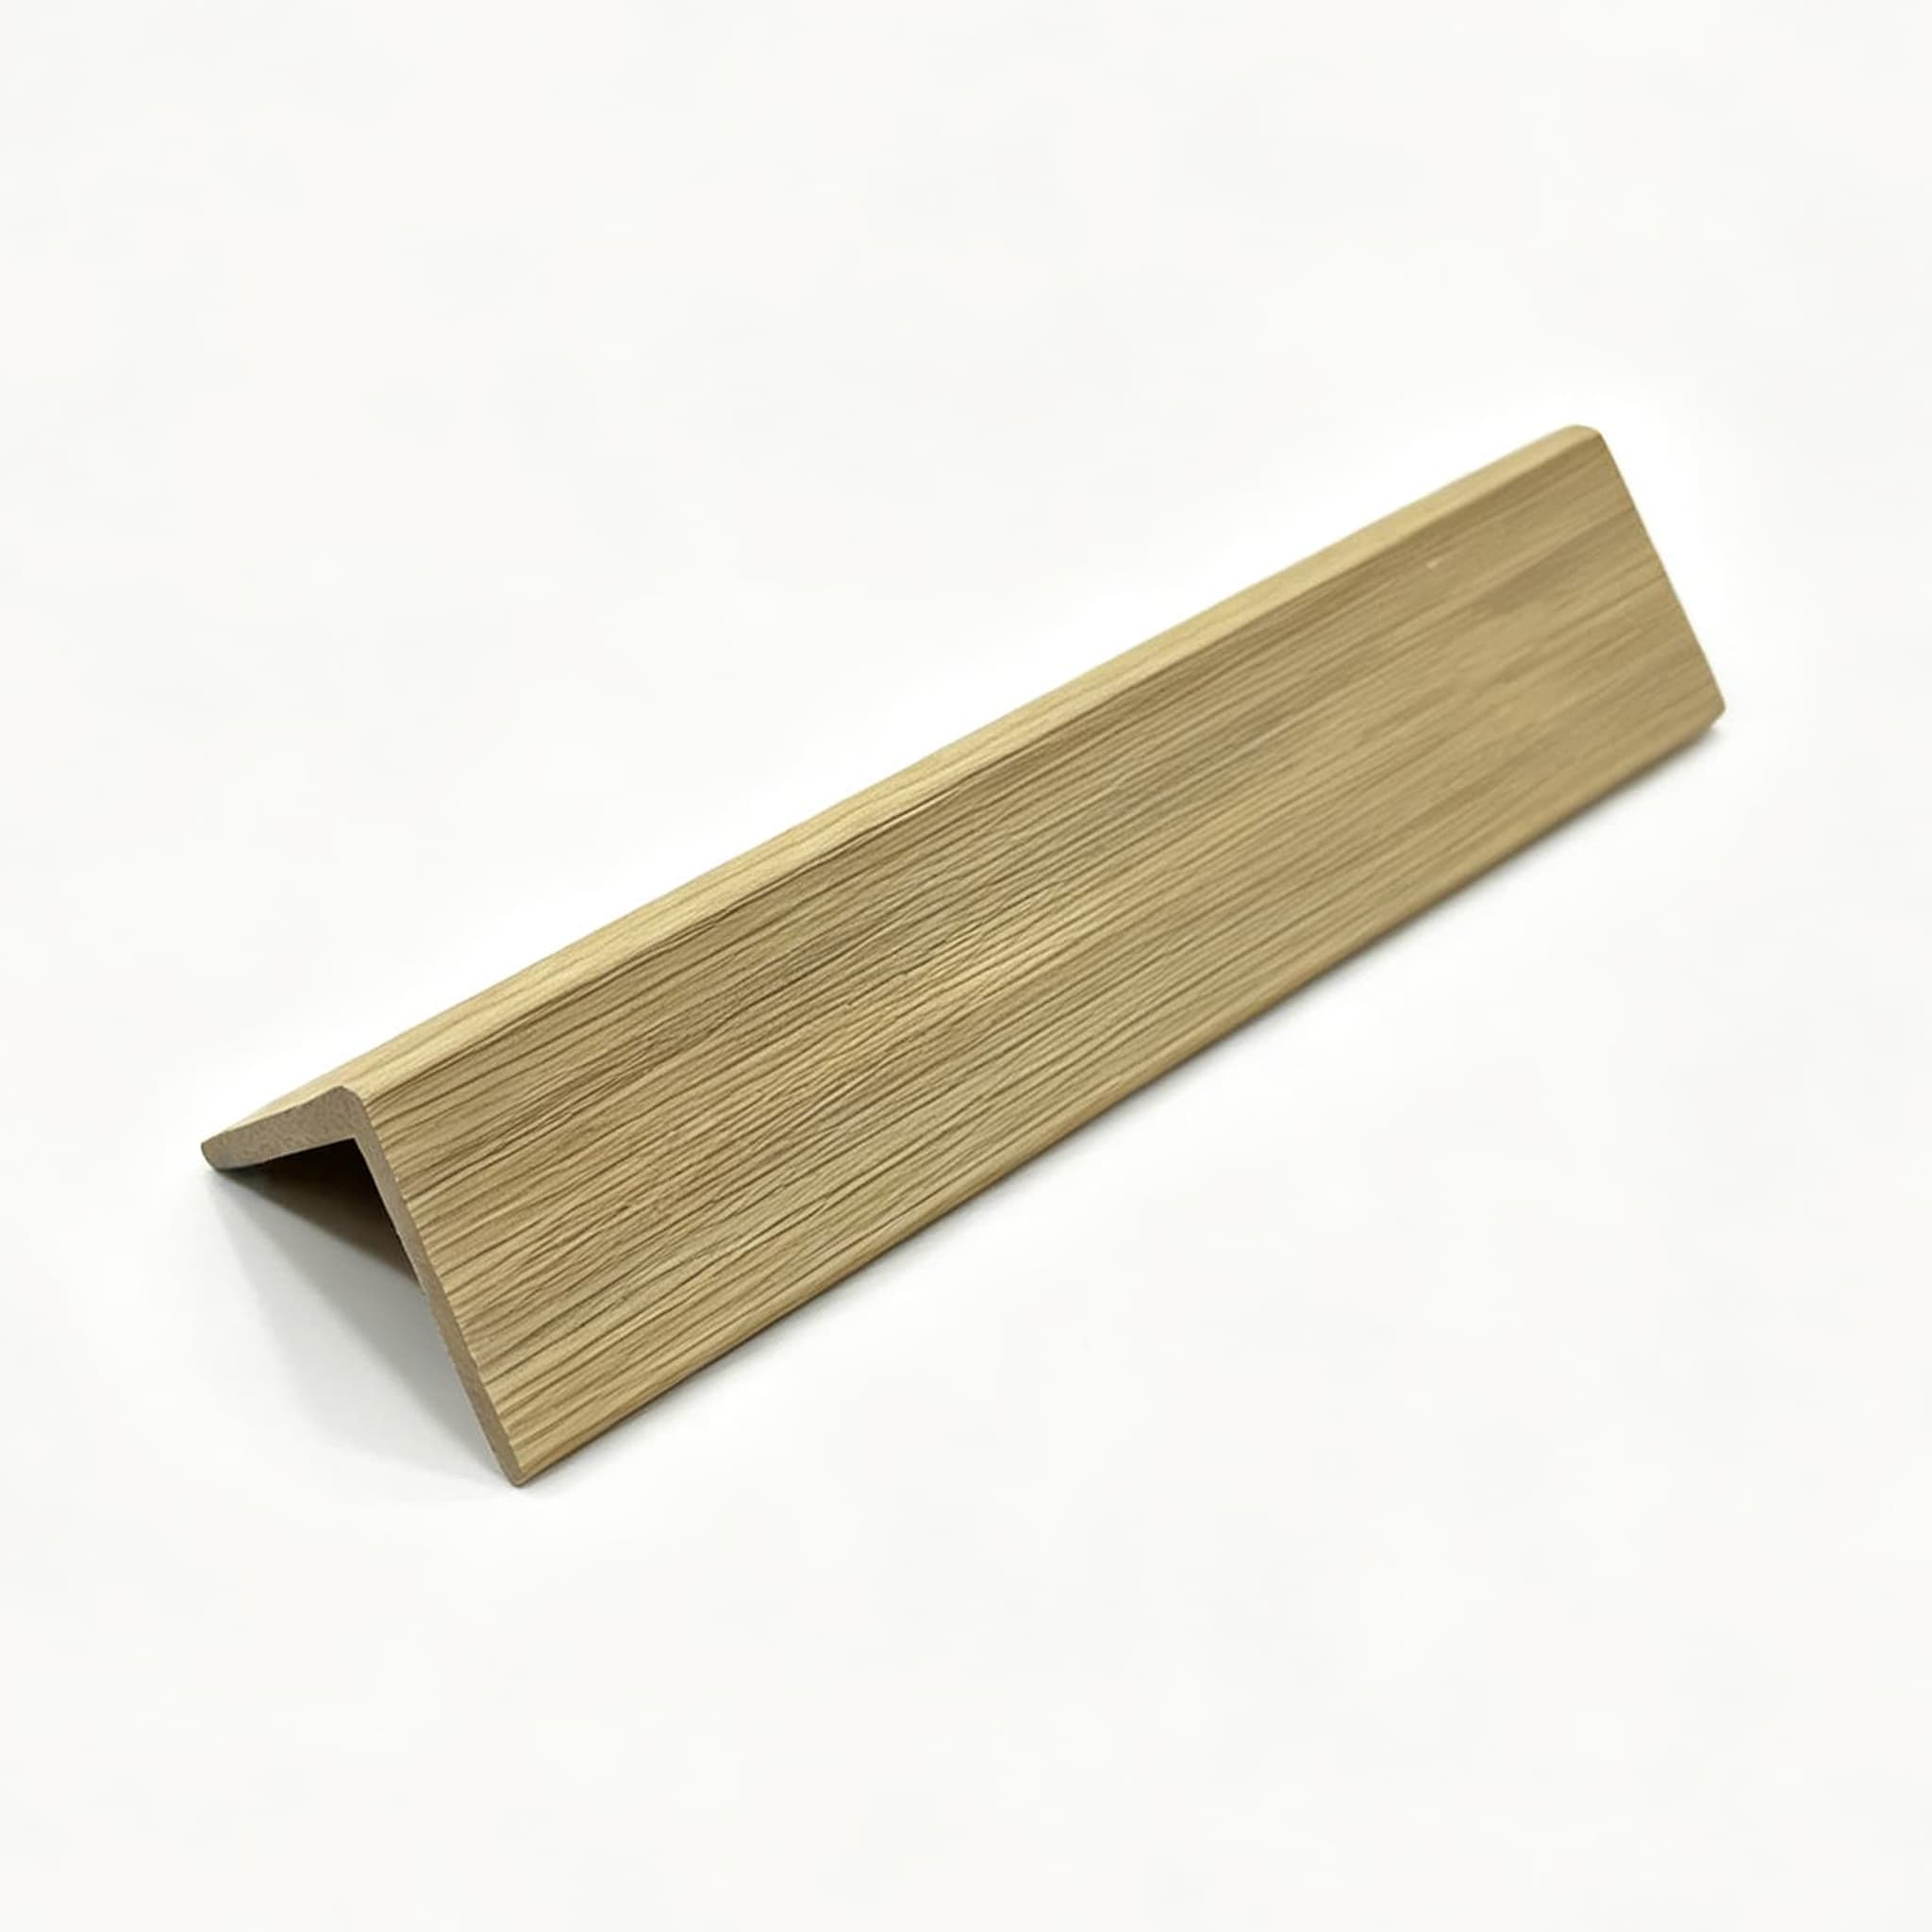
- Pairs with WPC L-corners for complete edge treatment
🛠️ Complete Accessories for Hollow WPC Decking Installation
For a complete hollow WPC decking installation, ensure you have the following accessories. The image below shows all essential components in one overview.

Accessories checklist: Hollow Decking Boards · WPC L-Corners · WPC Joists (Keels) · Plastic Clips · Stainless Steel Clips · Stainless Steel Screws · Metal Bayonets · End Caps/Sealant · Side Seal Plates — All available from NECOWOOD in matching colors.
❓ Frequently Asked Questions About Hollow WPC Decking Installation
Ready to Start Your Hollow WPC Decking Project?
Contact NECOWOOD for product specifications, free samples, installation support, and expert guidance tailored to your project requirements. We've been manufacturing premium WPC decking since 2009 and export to 35+ countries worldwide.
Contact NECOWOOD Experts Today