News

How to Install WPC Wall Panels: Step-by-Step Guide

2026-08-06 0 Leave me a message
How to Install WPC Wall Panels: Step-by-Step Guide | Necowood
Installation Guide August 2026 · 8 min read

How to Install WPC Wall Panels: Step-by-Step Guide

A practical WPC wall panel installation guide for exterior cladding. Learn the correct sequence — from tools and joist fixing to sequential panel installation and L-corner finishing. Based on Necowood's 16+ years of manufacturing expertise.
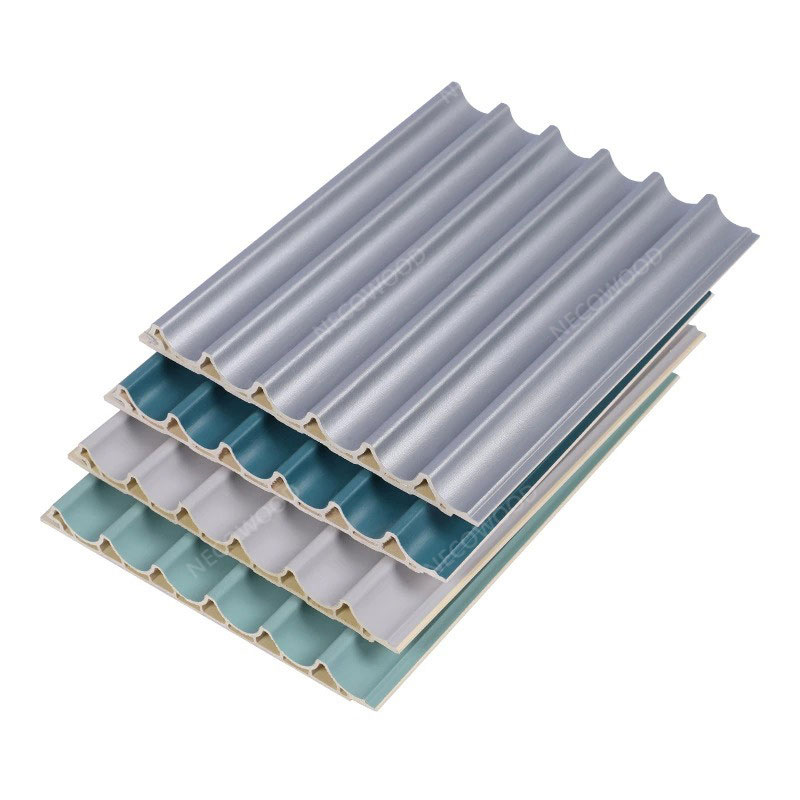
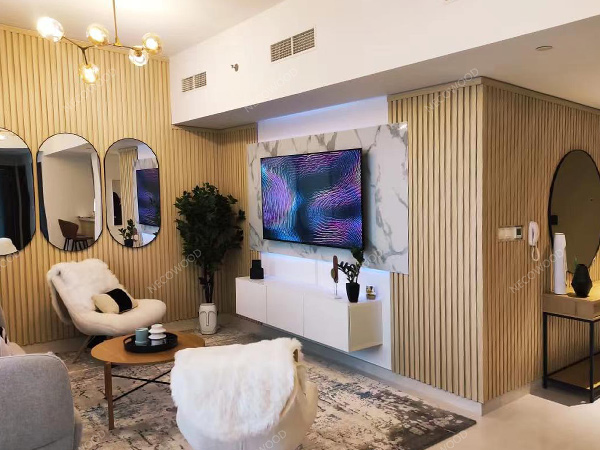
WPC wall panel installation process showing tools, joist system, and panel layout
WPC wall panel installation — tools, joist system, and panel layout

A WPC wall cladding system is only as good as its installation. Even the highest-quality wood-plastic composite panels will underperform if installed incorrectly. Poor installation leads to moisture infiltration, panel warping, loose connections, and premature failure.

This guide is built on Necowood's 16+ years of manufacturing experience and real-world installation feedback from contractors across 35+ countries. Every step reflects proven practices that ensure longevity, weather resistance, and aesthetic consistency.

🛠️ Tools You'll Need

⛓️Chainsaw
📏Tape measure
🔧Spirit level
🔫Drill
🪚Fine-tooth blade
📐Chalk line
🔩SS screws
📎Expansion screws

📦 Accessories & Components

Aluminum joist for WPC cladding
Aluminum joist
Stainless steel screws grade 316
SS screws (grade 316)
Starting clip for WPC panels
Starting clip
L-corner profile for WPC edges
L-corner profile
💡 Pro Tip: For coastal applications, use grade 316 stainless steel fasteners to prevent corrosion and ensure long-term structural integrity.
Step 1: Fixing aluminum joists to wall with expansion screws at 30cm spacing
Joists fixed — 30cm spacing
Step 1
Fix the Joist — The Foundation
Procedure:
• Fix aluminum alloy joists to the wall using expansion screws
• Space joists approximately 30 cm (12 inches) apart
• Secure an expansion screw every 0.5 meters (1.6 feet)
Why aluminum? Aluminum joists don't rot, warp, or attract termites. They provide dimensional stability across temperature extremes and create a moisture barrier.
⚠️ Critical: Proper joist spacing prevents panel sagging and ensures the cladding can withstand wind loads and temperature fluctuations.
Step 2: Installing starting clip at the bottom of joists for level alignment
Starting clip installed — level
Step 2
Fix the Starting Clip
Procedure:
• Position the starting clip level with the bottom edge of your planned cladding
• Secure firmly to the joist using appropriate fasteners
• Double-check levelness — the first panel sets the alignment for the entire wall
💡 Pro Tip: The starting clip holds the first panel in place. Take extra time on this step — getting it right eliminates problems further up the wall.
Step 3: Installing WPC wall panels sequentially with tongue-and-groove interlocking
Panels interlocked sequentially
Step 3
Sequential Panel Installation
Procedure:
Position the first panel into the starting clip at the bottom
Secure each panel to the joist with stainless steel screws
Interlock panels using the tongue-and-groove system
Maintain consistent gaps (3-5mm) for thermal expansion
Cutting: Use a fine-tooth saw. Place a small wood block behind the panel during cutting to prevent chipping.
📐 Remember: Measure twice, cut once. Accurate cutting prevents material waste and ensures a professional finish.
Step 4: Installing L-corner profiles on WPC wall panel edges for clean finish
L-corners installed — clean finish
Step 4
Install L-Corner Profiles
Procedure:
• Measure and cut L-corner profiles to the required length
• Position at external corners or panel edges
• Secure with stainless steel screws
• Ensure tight fit to cover panel ends completely
✅ Benefits: L-corners provide a clean, finished appearance and offer extra protection against moisture infiltration and impacts. Essential for a professional-grade installation.

✅ Key Installation Checklist

Tools and accessories prepared
Aluminum joists fixed (30cm spacing)
Expansion screws every 0.5m
Starting clip installed and leveled
First panel secured in starting clip
Stainless steel screws used for all fixings
Panels installed sequentially with interlocking
3-5mm expansion gaps maintained
L-corners installed at all edges
Panels acclimated for 24-48 hours before installation

❌ Common Installation Mistakes to Avoid

Incorrect joist spacing
Panel sagging, visible waves
✅ Follow 30cm spacing
Missing expansion gaps
Panel buckling in heat
✅ Maintain 3-5mm gaps
Using mild steel screws
Corrosion, loose panels
✅ Use SS screws (grade 316)
Skipping L-corners
Exposed edges, moisture ingress
✅ Install L-corners at all edges
Uneven starting clip
Entire wall out of level
✅ Double-check level
Improper cutting
Chipped edges, poor fit
✅ Use fine-tooth blade; support panel

🧹 Maintenance After Installation

One of the key advantages of WPC cladding is its low maintenance requirements. Unlike timber, which requires regular painting, staining, or sealing, WPC panels maintain their appearance with minimal effort:

  • Regular cleaning: Rinse with water or use a mild detergent solution for stubborn dirt
  • Periodic inspection: Check for loose screws or clips, especially after severe weather
  • Immediate attention: Address any damage promptly to prevent further issues

📋 Warranty Information: Necowood WPC cladding typically carries a 15-year structural warranty and an 8-year surface fade warranty (co-extruded series). Proper installation is a prerequisite for warranty coverage.

🏭 Why Choose Necowood WPC Cladding

Necowood has been manufacturing premium WPC building materials for over 16 years, exporting to 35+ countries. Our cladding systems feature:

  • Co-extruded technology for superior UV resistance and color stability
  • Hidden fastening systems for a seamless, professional appearance
  • Full accessory kits including clips, joists, and L-corners
  • Zero-maintenance performance — no sanding, oiling, or sealing
  • Proven durability in diverse climates from tropical humidity to freezing winters
❓ Frequently Asked Questions

What is the recommended joist spacing?
Joists should be spaced approximately 30cm (12 inches) apart, with expansion screws secured every 0.5 meters (1.6 feet). This provides a sturdy foundation and prevents panel sagging.
What tools do I need to install WPC wall panels?
Essential tools include: chainsaw or circular saw, tape measure, spirit level, drill, gas nailer, stainless steel screws (grade 316 for coastal areas), expansion screws, starting clips, L-corner profiles, and aluminum joists.
What type of screws should I use?
Always use stainless steel screws. For coastal or high-humidity areas, grade 316 stainless steel is recommended to prevent corrosion and ensure long-term structural integrity.
Do I need to leave expansion gaps?
Yes. Maintain 3-5mm gaps between panels to accommodate thermal expansion. Panels installed too tightly may buckle or deform over time.
How do I cut WPC panels without chipping?
Use a fine-tooth saw or circular saw with a blade designed for composite materials. Place a small wood block behind the panel during cutting to provide stable support.
WPC wall panel installation guide, how to install WPC wall panels, WPC cladding installation, exterior wall cladding installation, WPC installation tutorial, composite wall panel installation, WPC joist spacing guide, starting clip installation, L-corner profile installation, WPC panel cutting guide, WPC expansion gap requirements, stainless steel screws for WPC, WPC cladding maintenance, Necowood installation guide, professional WPC installation tips, step by step WPC wall panel installation, WPC exterior cladding guide.
Complete WPC wall panel installation guide from Necowood. Step-by-step instructions covering tools, joist fixing (30cm spacing), starting clip installation, sequential panel installation, L-corner finishing, expansion gaps (3-5mm), and common mistakes to avoid. Based on 16+ years of manufacturing expertise. Suitable for exterior cladding projects. Necowood WPC cladding — 15-year structural warranty, 8-year surface fade warranty.
Related News
Leave me a message
X
We use cookies to offer you a better browsing experience, analyze site traffic and personalize content. By using this site, you agree to our use of cookies.Privacy Policy
RejectAccept